Short-range work is paramount for long-range success, but unfortunately many precision shooters quickly gloss over the short-range portion of weapon setup. As a result shooters sometimes unknowingly ignore the benefits that short-range setup can offer, particularly when it comes to troubleshooting a problem at longer ranges.
Precision shooters need to understand how the weapon, scope, and ammunition perform at short range before a problem can be identified and resolved at longer ranges. What I present in this blog post is my method for achieving short range weapon setup. It's not the only way setup can be achieved, but it is a streamlined process which helps to eliminate any weapon or ballistic solver gun profile errors.
Understanding Weapon System and Ammunition Performance
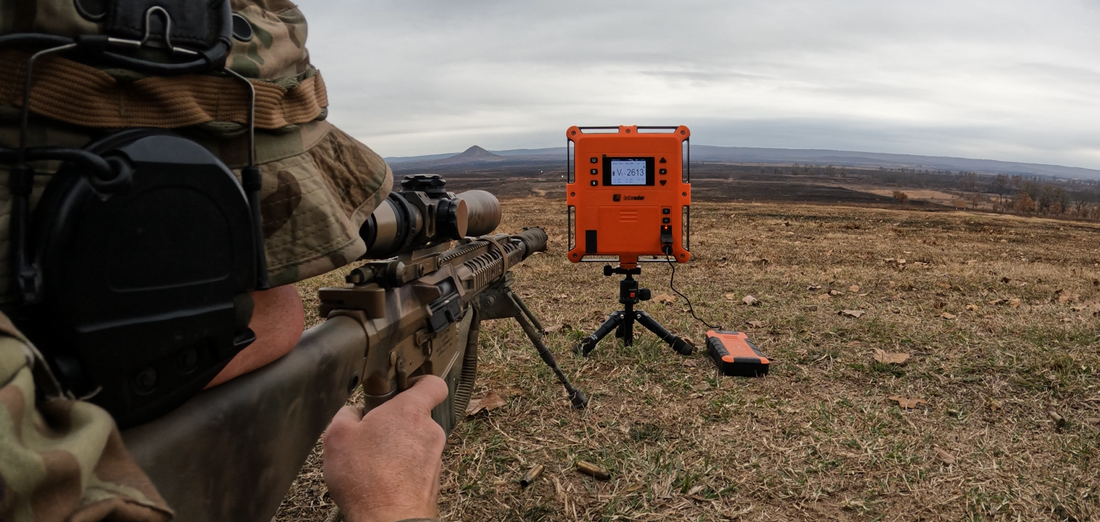
I use a similar weapon setup process regardless of the long-range application. My aim is to conduct weapon setup while measuring and verifying inputs for a ballistic solver gun profile. First I confirm the short-range zero, then immediately proceed to a scope tracking test. Concurrently I run an Infinition LabRadar to measure and record muzzle velocities. The end result of the short-range process is a solid zero, verified turret tracking and cant device, calculated sight scale factor, and muzzle velocity data. These measurements allow me to understand the weapon and scope performance, and are all necessary for accurate firing solutions at longer ranges.
Use a Solid Short-Range Zero
There are multiple benefits to using a short-range zero, but the overall goal is to achieve a foundation from which the sights can be adjusted. A short-range 100 y/m zero gives shooters a baseline to begin dialing or holding for targets at increased distances. Using a 200 or 300 y/m zero is just not conducive to achieving a baseline. The shooter would have to hold under for targets at closer ranges.
Zero-shift due to air density change is another consideration. When a weapon is zeroed at 100 y/m, the bullet occupies the line of sight for an extended period when compared to a longer range zero. As a result, the short-range zero is a lot less susceptible to any zero-shift due to changes in atmospheric air density. Sure, a shooter could zero at 200+ but once the atmospherics significantly change, the zero will change too. The weapon system will no longer be zeroed and the error will compound at longer ranges. One MOA of zero error is one MOA of firing solution error at all target ranges.
On a side note, if you need a Point Blank Range (PBR) zero for a particular application, you can always dial or hold. A shooter can return to the 100 y/m baseline after the battlefield zero is no longer required. See the Max PBR post to learn more on that topic.
Test Scope Turret Tracking
A scope tracking test offers peace of mind in the best of cases, or heartbreak and frustration in the worst of cases when you discover your turret has a tracking problem. The outcome of a tracking test is an understanding of how much adjustment error exists, and a scale factor to account for that error. Some ballistic solvers allow for a gun profile sight scale factor input to account for scope turret adjustment error.
The scope turret is a manmade mechanism that is expected to endure a lot of physical punishment. It is possible to get a high-quality scope that does not track, but I expect tracking error is more common for entry-level scopes. I typically employ high-quality Vortex scopes, so I expect the turrets to track within 0-3% error. Even if there is some amount of adjustment error, you can still account for it if the error is repeatable.
It's not necessary to test the scope during every setup process, but it is necessary to reverify if there's any doubt about the turret tracking accuracy. Also consider retesting before an important task, or when the tracking hasn't been reverified for an extended period. Mechanisms wear, and things change over time.
Measuring MV Data
There's multiple benefits to collecting a lot of velocity data. Continuously running a chronograph during the short-range process allows me to collect a larger data sample size. In turn, the larger sample size provides a better overall indication of the MV average, standard deviation, and extreme spread. It's important the MV average is accurate so the ballistic solver can calculate downrange velocities and the resulting drop at longer ranges. The velocity spread data can be used to determine the expected vertical dispersion by adjusting the gun profile MV input and noting the difference in firing solution from MV average.
The LabRadar is capable of measuring downrange velocity data which can also be used to determine if some amount of velocity decay exists.
The Magneto Speed is an extremely reliable chronograph but I’d recommend employing a mounting bracket at a point other than the muzzle. This will mitigate any point of impact interference, as opposed to having the chrono attached directly to the barrel.
Confirm the Firing Solution Accuracy
By now I have completed the short-range setup and all the necessary profile inputs have been measured to build a complete gun profile. So now my attention shifts to firing solution accuracy and long-range confirmation. Confirmation should occur in two stages:
- The first confirmation process occurring close to the extent of supersonic flight.
- The second confirmation process occurring into transonic flight.
I separate the confirmation into two stages because a trajectory prediction error in supersonic usually relates to a gun profile input error, inaccuracy, or short-range zero issue. Assuming the supersonic prediction was exact, error into transonic usually relates to how well the bullet transitions through the sound barrier.
In less common instances, the gun might have an initial launch dynamic. This causes some amount of velocity decay, which is a problem that can be determined quickly by using the downrange velocity data measured by the LabRadar. Sometimes it might be necessary to calibrate if a discrepancy exists between predicted and actual transonic firing solutions. It’s important to first verify supersonic trajectory prediction and then proceed to transonic to progressively eliminate any likely error sources. There should be no vertical firing solution error if the gun profile and calibration process have been completed correctly.
Firing Solution Accuracy
Being a master of your tools and equipment extends beyond just the weapon system and good shooting techniques. A ballistic solver with accurate gun profile is the tool that calculates your firing solution. The gun allows you to use that information and deliver the target hit. The accuracy of the gun profile, target, and environment inputs will directly affect the accuracy of the firing solution output. Ballistic solvers are somewhat like a calculator. So you need to be asking "What is the error source?" if the firing solution doesn't match up.
Recording a hard copy of gun profile info and DOPE will provide a shooter with the means to diagnose any firing solution inconsistencies later on. A record of gun data will also be worth its weight in gold if the ballistic solver ever deletes your gun profiles during a software update or phone upgrade. You hear about those horror stories all the time.
Conclusion
Conducting a thorough short range setup process isn't half as exciting as ringing steel at longer ranges, but it will help to identify the error sources causing trajectory prediction inaccuracies downrange. Being able to identify those error sources equates to consistently hitting more targets at increased distances. That's the aim of the precision LR game.
Thanks for reading. If you enjoyed this content, be sure to subscribe, share, and follow us on YouTube, Facebook, and Instagram.